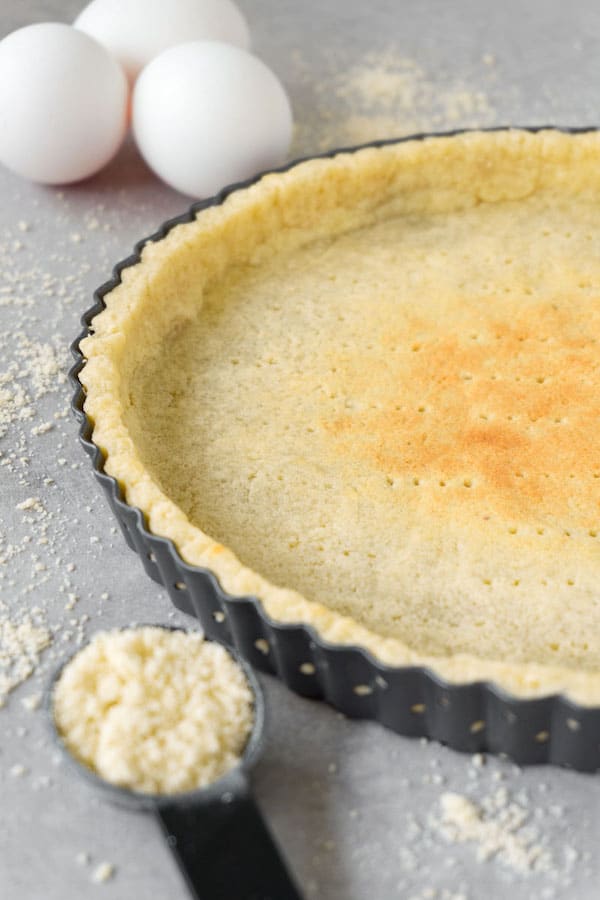
This easy keto pie crust recipe turns out perfect every single time. Buttery and flaky, fill this gluten-free and sugar-free keto crust with your favorite pie filling and enjoy!
Jump to:
There are two different methods of making this easy keto pie crust recipe – a partial blind bake and a full blind bake.
The partial blind baking method is used when you want to bake a pie crust for a little while before adding a filling and baking it again until fully done.
The full blind baking method is used when you use a filling that doesn’t need further baking (think of cheesecakes that you keep in a fridge until firm), so you need your crust to be fully baked before filling it up.
Step by step directions
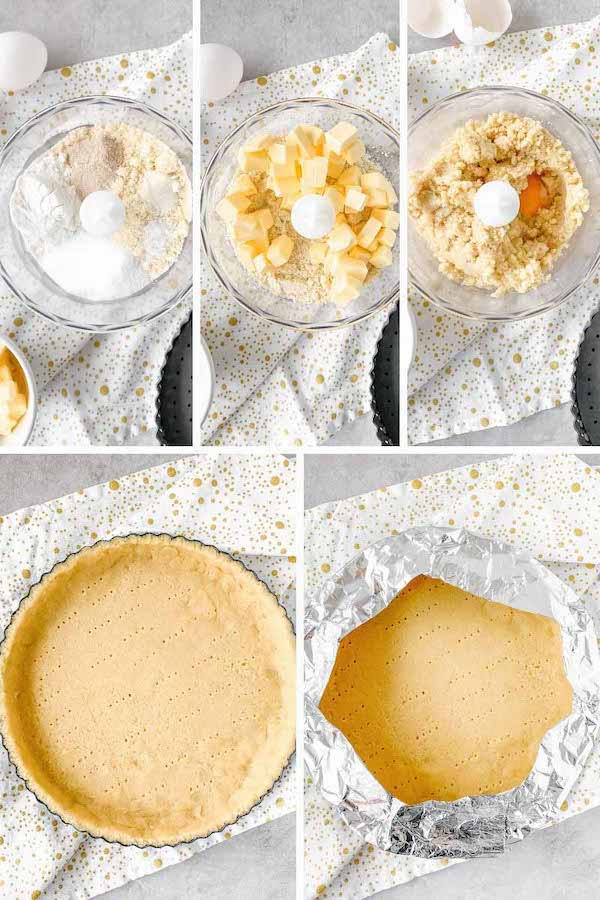
To make a batch of low carb crust, we need to combine all our ingredients together; it’s best to use a food processor for that. I use a blend of two flours ( blanched almond flour and coconut flour, both being keto-friendly and gluten-free), xanthan gum, and psyllium husk to give the dough more elasticity. I then add sweetener with a pinch of salt to bring out some flavors. You can also experiment and add some lemon, lime, or orange zest, or vanilla, almond, mint, or any other kinds of extracts.
Then, add your cold cubed butter (or you can use melted coconut oil to make this recipe dairy-free) and pulse until the mixture resembles wet sand. After that, add a cold egg and pulse again until the ball of dough is formed.
The last step before rolling the dough out will be shaping it into a disk and freezing it for 10-15 minutes, or until very cold but still pliable.
Rolling out low carb pie dough
Roll your low carb keto dough out between two pieces of parchment paper until it’s around 0.15 inches (4 mm) thick. Then, remove the top layer of the paper and carefully flip it onto a 9-inch (23cm) tart pan (tart pans with removable bottoms make your life easier). Fix all the cracks, if they appeared, and even out the crust. Or, you can form your keto pie crust by pressing the dough into your tart/pie pan with your hands. Don’t forget to prick the base with a fork and freeze the crust for 10 minutes before baking it!
What are pie weights and how to use them
Pie weights are anything heavy that can keep your pie crust from puffing up when you’re baking a pie crust without filling.
After making many keto pies, tarts and other low carb desserts, I figured out that I don’t need to use pie weights when I follow a partial blind baking method; my keto pie crust is so forgiving that I can just press all puffiness down with a spoon or the flat bottom of a cup before pouring in a pie filling and baking it again. However, we absolutely need pie weights when we want to fully bake it. To use them, line the inside of your crust with aluminum foil slightly greased with butter or other keto-friendly cooking oil (it will also prevent over-browning!). Next fill it with dried beans, rice, or special ceramic/metal balls - then bake according to instructions.
How to partially blind bake pie crust
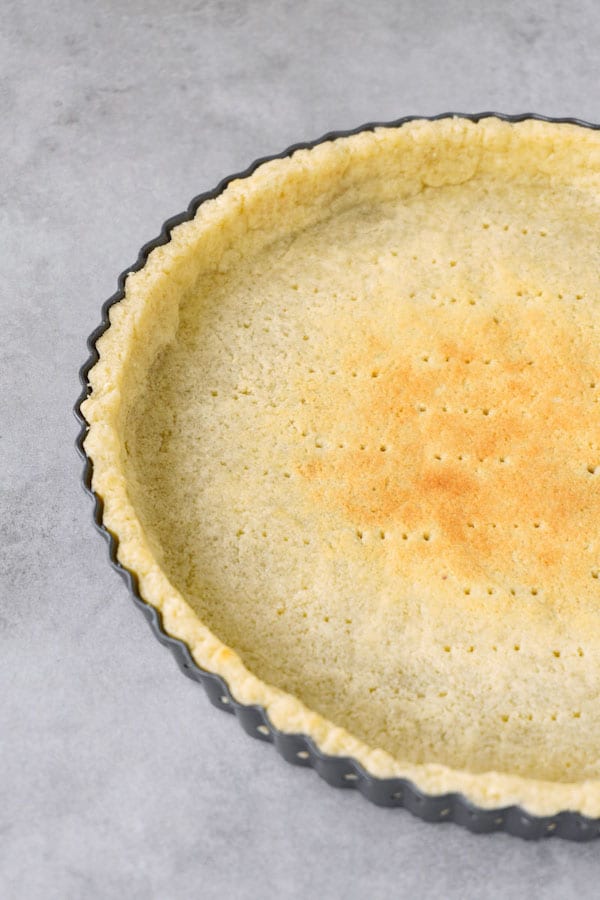
Bake on a lower rack for 8-10 minutes, or until the crust starts picking up a golden color in the middle.
When done, remove from the oven, let it cool down a little bit, and gently press down with a spoon or the flat bottom of a cup if the crust has puffed up. Fill with a pie filling, like from my GLUTEN-FREE VANILLA CUSTARD TART RECIPE or LOW CARB KETO PUMPKIN PIE RECIPE, cover the edges of the pie crust with a pie shield or strips of aluminum foil, and bake one more time until the pie is done.
How to fully blind bake pie crust
Bake for 10 minutes using pie weights. Remove the weights and bake for an additional 5 minutes or until the crust is golden-brown.
Remove from the oven and let the crust cool down completely before you fill it with a pie or tart filling that doesn’t need further baking.
Carbs in keto pie crust
You will be able to cut this pie crust into 8 slices. Each slice will have around 2g net carbs.
What pies can you make
SUGAR-FREE KETO PECAN PIE RECIPE
LOW CARB KETO PUMPKIN PIE RECIPE
GLUTEN-FEE VANILLA CUSTARD TART RECIPE
Recipe
Easy keto pie crust recipe
Equipment
- 9-inch/23cm pie or tart pan1
Ingredients
- 1⅓ cup 130g almond flour
- ¼ cup 25g coconut flour
- 1 teaspoon psyllium husk powder
- ½ teaspoon xanthan gum
- 2 tablespoon granulated sweetener of your choice, I use Sukrin
- Pinch of salt
- 6 tbsp 90g unsalted butter, cold and cubed
- 1 large egg, cold
Instructions
- In a food processor, combine the first 6 ingredients.
- Add the cubed butter and combine again until the mixture resembles wet sand.
- Add the egg and combine one last time until the mixture comes together and forms a ball. With your hands, form a round disk, place it on a small plate, and leave in a freezer for 15 minutes.
- When the dough is cold but still pliable, roll it out between two pieces of parchment paper until it’s around 0.15 inches (4 mm) thick. Then, remove the top layer of the paper and carefully flip it onto a 9-inch (23cm) tart pan. Fix all the cracks, if they appeared, and even out the crust. Prick the base with a fork and freeze for 10 minutes before baking.
- Preheat oven to 350F (175C).
- When the crust has firmed a little bit in the freezer, take the tart pan out and cover the edges of the pie crust with a pie shield or strips of aluminum foil to prevent over-browning.
PARTIAL BLIND BAKING
- Bake on a lower rack for 8-10 minutes or until the crust starts picking up a golden color in the middle.
- When done, remove from the oven, let it cool down a little bit, and gently press down with a spoon or the flat bottom of a cup if the crust has puffed up.
- Fill in with a pie filling, cover the edges of the pie crust with a pie shield or strips of aluminum foil, and bake one more time until the pie/tart is done.
FULL BLIND BAKING
- Bake for 10 minutes using pie weights, then remove the weights and bake for an additional 5 minutes or until the crust is golden-brown.
- Remove from the oven and let the crust cool down completely before you fill it with a pie/tart filling that doesn’t require further baking.
Notes
This website, https://heretocook.com, offers nutritional information for recipes contained on this site. This information is provided as a courtesy and should not be construed as a guarantee. This information is a product of online calculators such as Cronometer.com and MyFitnesPal.com

Marie
I absolutely loved this crust, the only thing I would say is that it needed. A little more salt. But it was perfect. Thank you for such
A wonderful recipe. I used for keto lemon lush😊
Anna
I'm glad you liked the recipe! Thank you for your comment, Marie!
Meg
I loved this crust, when it was cooked, but found it really hard to get it to peel off backing paper when I put it in the tin!! I had to scrape it off with my hands & then push it into the tin!!! Should I add extra coconut flour? Meg
Anna
Hi Meg! If the dough wasn't chilled enough in the fridge, it can stick to the parchment paper. If regular parchment paper still doesn't work after you chilled the dough, use waxed paper. If that doesn't work, use two pieces of plastic wrap to roll out the dough.
Meda Pittser
I don’t have a food processor…can I use a blender?
Anna
I think a blender should work. Just don't overdo it. Pulse several times until resembles a wet send.